
Arduino Setup
This tutorial will guide you on how to setup Magicbit with Arduino IDE
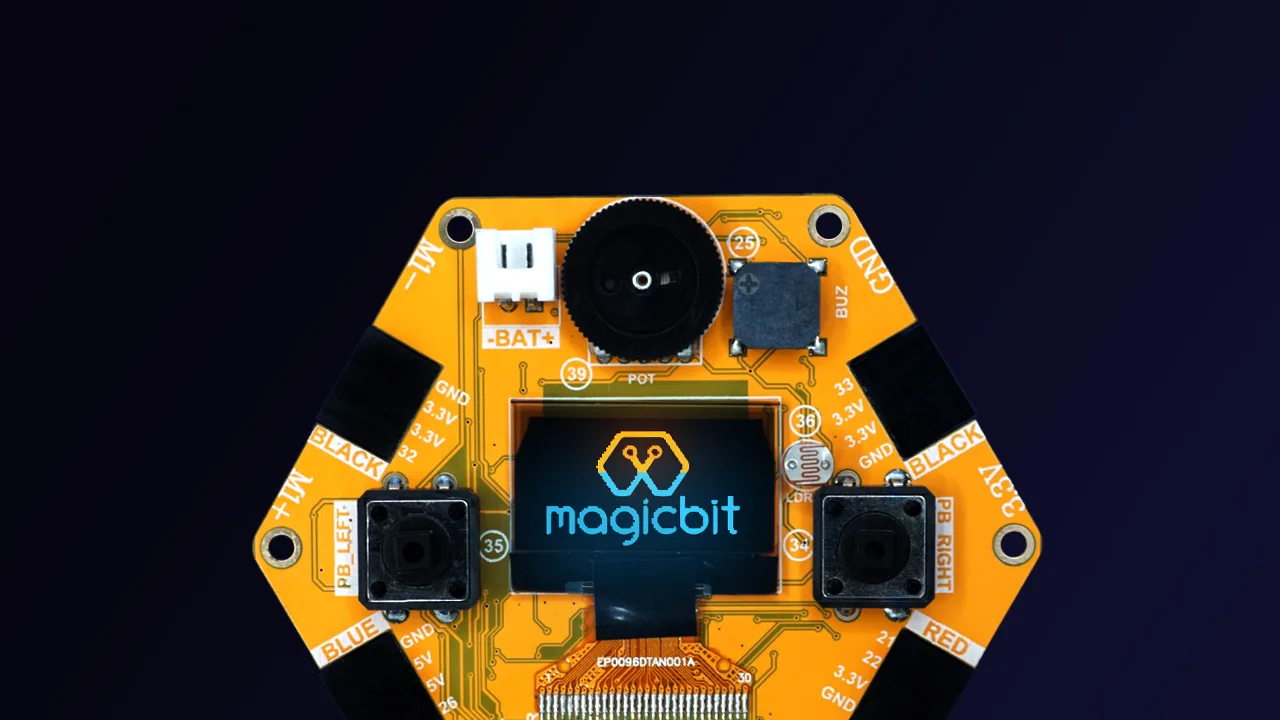
Components Required

What is Arduino?
The Arduino Integrated Development Environment is a cross-platform application that is written in functions of C and C++. It is used to write and upload programs to Arduino compatible boards. But also, with the help of third-party cores, other vendor development boards.
Install Magicbit
Magicbit is based on ESP32 and Arduino core because Magicbit is forked from the espressif/arduino-esp32. Therefore, to program a Magicbit with the Arduino IDE, you will have to go through the following steps.
-
Release Link –https://github.com/magicbitlk/arduino-esp32/releases/download/Magicbit/package_magicbit_index.json
- Install the current Arduino IDE at the 1.8 level or later.
- Start Arduino and open the Preferences window.
- Enter the release link above into the Additional Board Manager URLs field. You can add multiple URLs, separating them with commas.
- Open Boards Manager from Tools > Board menu and install Magicbit platform (and don’t forget to – – select Magicbit from Tools > Board menu after installation).
Powering Up
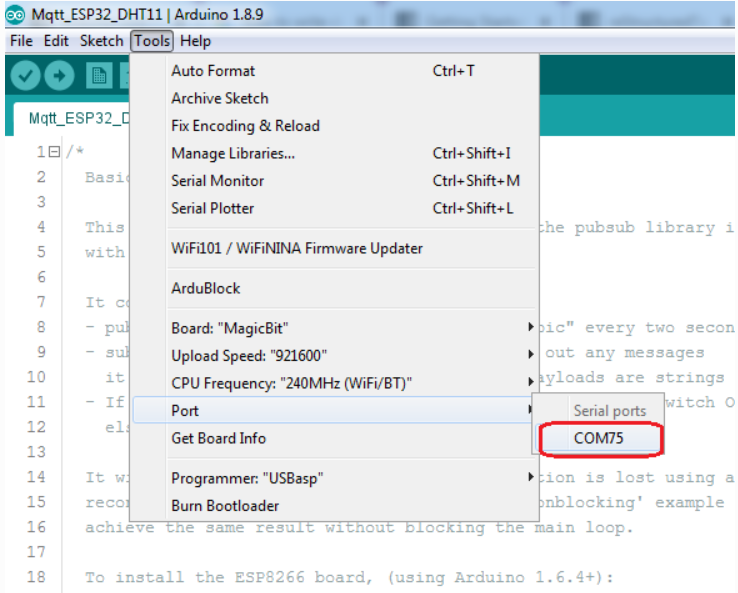
To check whether drivers are correctly installed, open the Arduino IDE and go to the Tools menu. There should be a port (Eg: COM1) shown when plugging Magicbit into the computer, as shown below. If not please follow the Installation drivers section.
Installation Drivers
Magicbit has a CH340 chip as a USB-Serial converter which the driver is already packaged with Arduino IDE. If the port is not shown in the Arduino as shown below, please install the driver from the Magicbit utility.
Your First Project…
- Open Arduino IDE if not opened already
- Select Magicbit from Tools ⇒ Boards
- Select port Tools ⇒ Ports
- Open Blink Example File ⇒ Examples ⇒ Basic ⇒ Blink
- Upload the code to the Magicbit using the upload button on Arduino IDE
- If the Green LED on the backside of the Magicbit is blinking, you have just begun the magic with Magicbit
If you get this error set Upload Speed to 115200 from Tools menu and try again
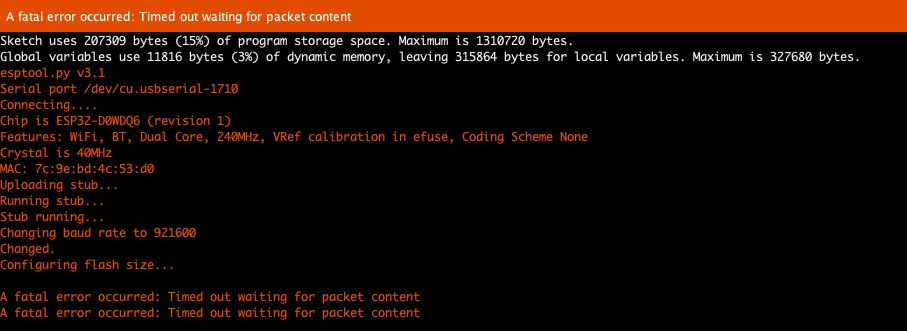
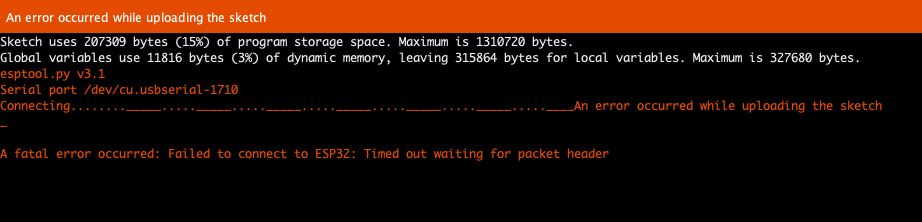
Automatic uploading may not work properly in some computers. Try following steps if you get Connecting… message on output window in Umagicbit uploader or in Arduino
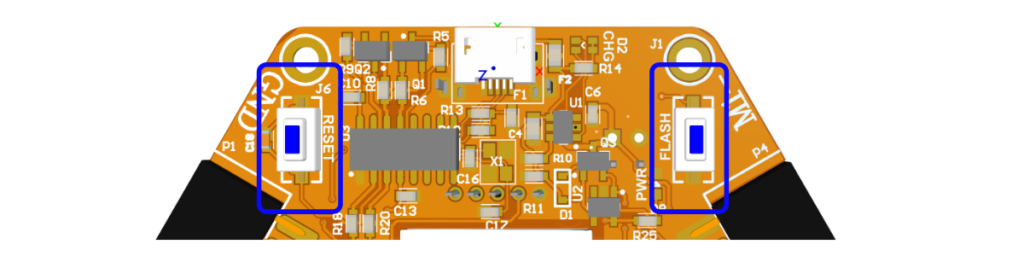
- Press flash button on Magicbit before click upload
- Press and release reset button while holding the flash button down
- Release the flash button
Then try to upload again.