Arduino Lesson 3
3. Reading the State of a Push Button
Turn a LED on/off from the input from a button
Components Required

Buy
Introduction
In this example, you are learning how to read a digital input from something like a button & use it to turn on and off a LED or any other digital device.
Learning Outcomes
From this example, you’ll get an understanding about,
- Digital Read
- IF-ELSE conditions
- Variables
Theory
A digital input allows you to read digital signals. The microcontroller recognizes the signal as 1(HIGH) when the signal is close to 3.3v (or 5v depending on the microcontroller) and recognizes it as 0(LOW) when the signal is close to 0v. This reading can be used in the program to do various things.
Methodology
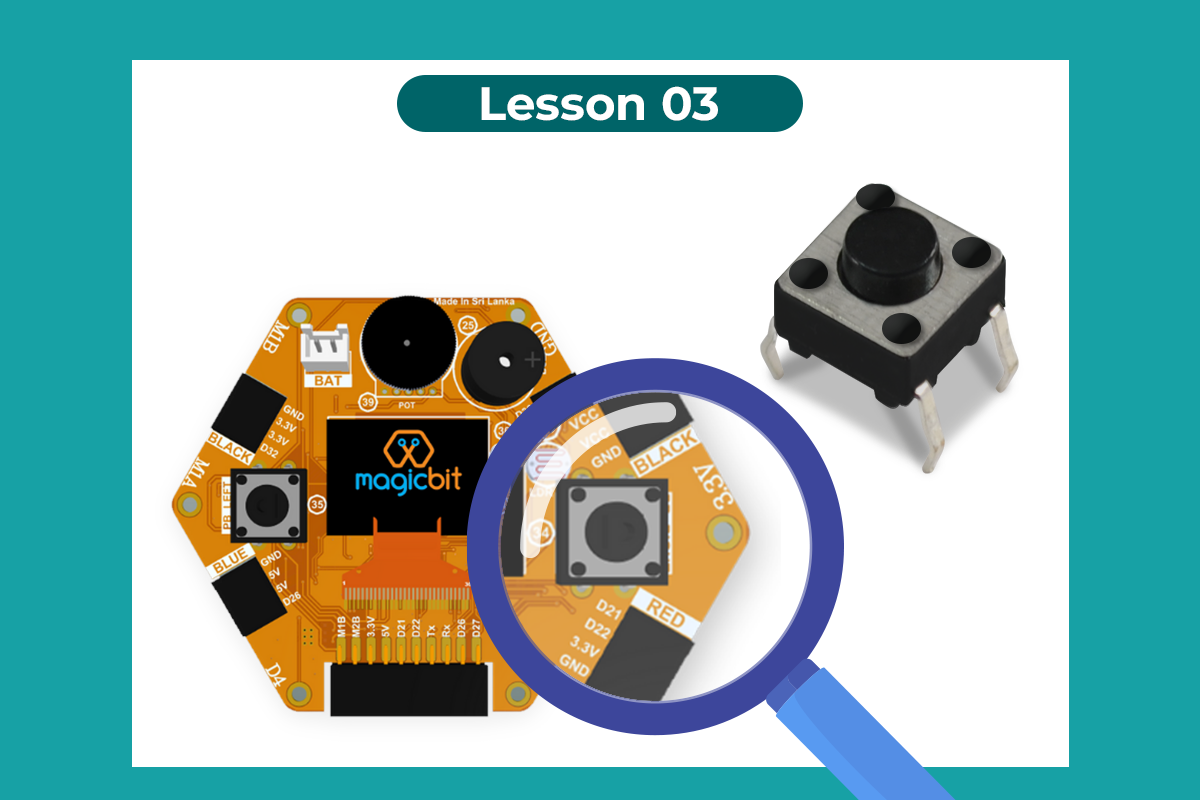
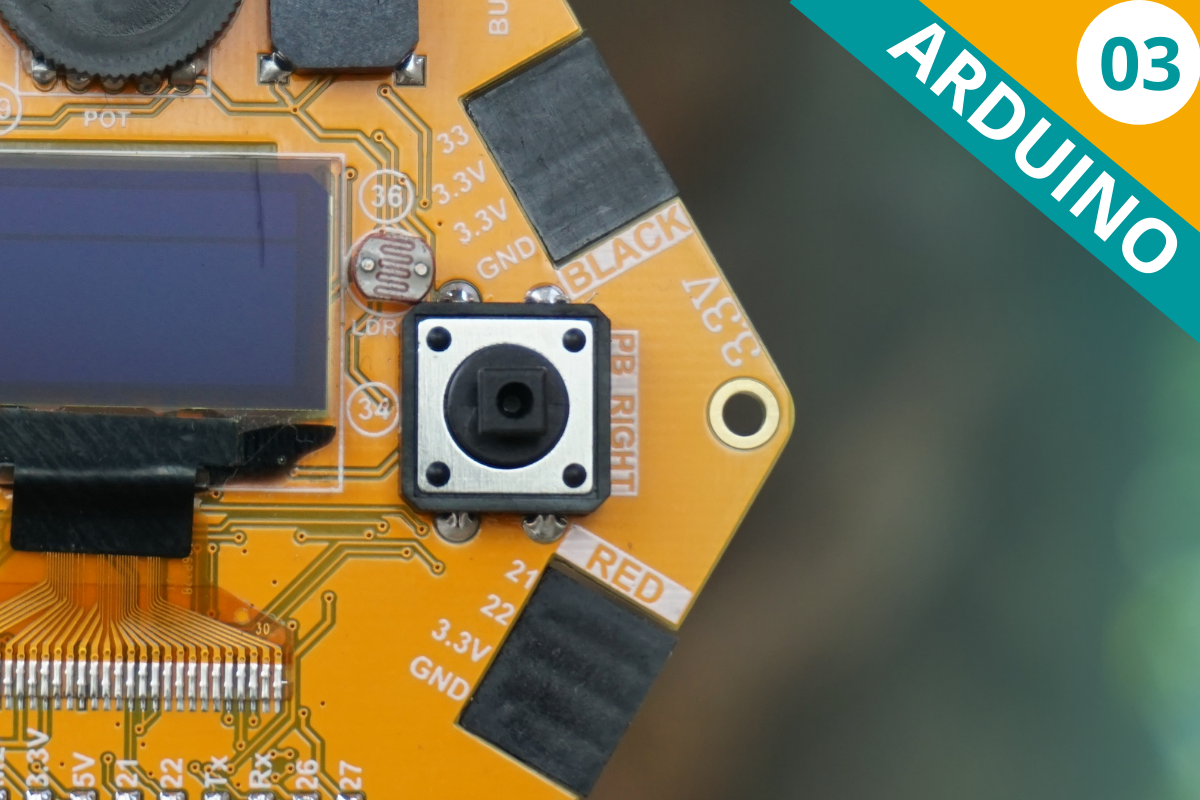
Magicbit is equipped with two onboard pushbuttons on the Magicbit development board, let us select the push button which is wired to D34. Buttons on the board are pulled up internally (to learn more about pull-ups/pull-downs, follow this link). This means when the button has not been pressed, the status of the button is 1 (HIGH), & when the button has been pressed, the status of the button is 0 (LOW).
Also, like in the previous example, we need to select an LED to indicate the change, let’s select RED LED which is wired to pin D27.
First, we set the input-output configurations of the Button and the LED using pinMode, in this case, the button is an INPUT, the LED is an OUTPUT. Then in the loop section, we check the state of the button & store it in an int type variable called buttonState (follow this link to learn more about data types in Arduino).
Then we can use the variable as the condition of the if block, and if the button is pressed, the bulb should turn on, and the button is not pressed the light should turn off.
Code
void Setup(){
   pinMode(27,OUTPUT);
   pinMode(34,INPUT);
}
void loop(){

 int buttonState = digitalRead(34);
 if(buttonState == LOW){
   digitalWrite(27, HIGH);
 }else{
   digitalWrite(27, LOW);
 }
}
Explanation
digitalRead(pin No): Reads the condition of the given pin and returns a digital value HIGH or LOW.
IF/ELSE: Used to evaluate a digital condition, we can put a digital logic condition in then parenthesis. If the condition is true, it executes the code block in the immediate curly bracket section, if the condition is false it executes the code block in the else curly bracket.
- if(condition){
- //Do if condition is true
- }else{
- //Do if condition is false}
Note: Write a code to toggle an LED in the button press. The LED turns on when the button is pressed & released, the LED turns off when the button is pressed & released again. (Hint: Make use of variables to ‘remember’ the state of the button press).