Arduino Lesson 6
Reading an Analog Signal
This is custom heading element
Components Required

Buy
Introduction
In this example you are learning to read an analog sensor & print it on the serial console.
Learning Outcomes
From this example, you’ll get an understanding about,
- Analog Read function
Theory
In the real world, most of the signals we encounter are analog signals (temperature, air pressure, velocity), they are continuous. But computers work in the digital domain, to interact between the worlds, representing an analog signal in the digital domain is important. (to read more about analog to digital conversion, follow this link)
Methodology
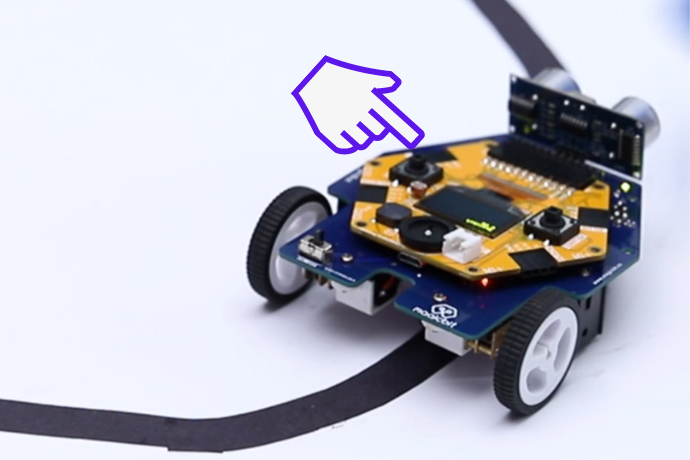
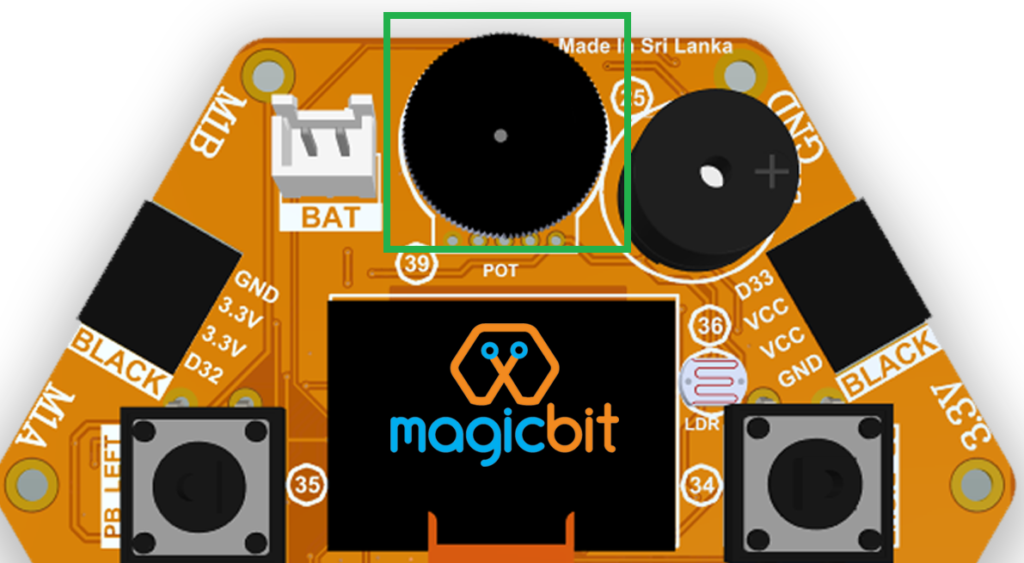
For this example, we use the potentiometer on the Magicbit board, which is connected to pin, D39. It generates a voltage between 0 and 3.3V according to the angle of the potentiometer. Rotate the black color wheel to change the angle.
We read the analog signal and storing it in an int type variable(0v= 0 analog value, 3.3v = 4096 analog value), sensorValue, later, we use this value to print on the serial window of Arduino IDE as well as light up the red LED(D27) if the analog value exceeds than 2000.
Code
void setup(){
     pinMode(27,OUTPUT);
     Serial.begin(9600);
}
void loop(){
     int sensorValue = analogRead(39);
     Serial.println(sensorValue);

     if(sensorValue > 2000){
        digitalWrite(27,HIGH);
     }else{
        digitalWrite(27,LOW);
     }
     delay(100);

 }
Explanation
analogRead(pin No): this reads and assigns the corresponding analog value to the left.
Activity
Note: Do the same example using the LDR on the board (D36)