Using Serial Protocol
Serial Communication with Magicbit and PC
Components Required

Introduction
Learning Outcomes
- Serial Protocol usage between Magicbit & the PC
Theory
In microcontroller programming, communication between devices is essential. There are hundreds of protocols available, but the most common & easy to use is Serial Protocol. Commonly used to communicate information between a microcontroller and a computer.

Methodology
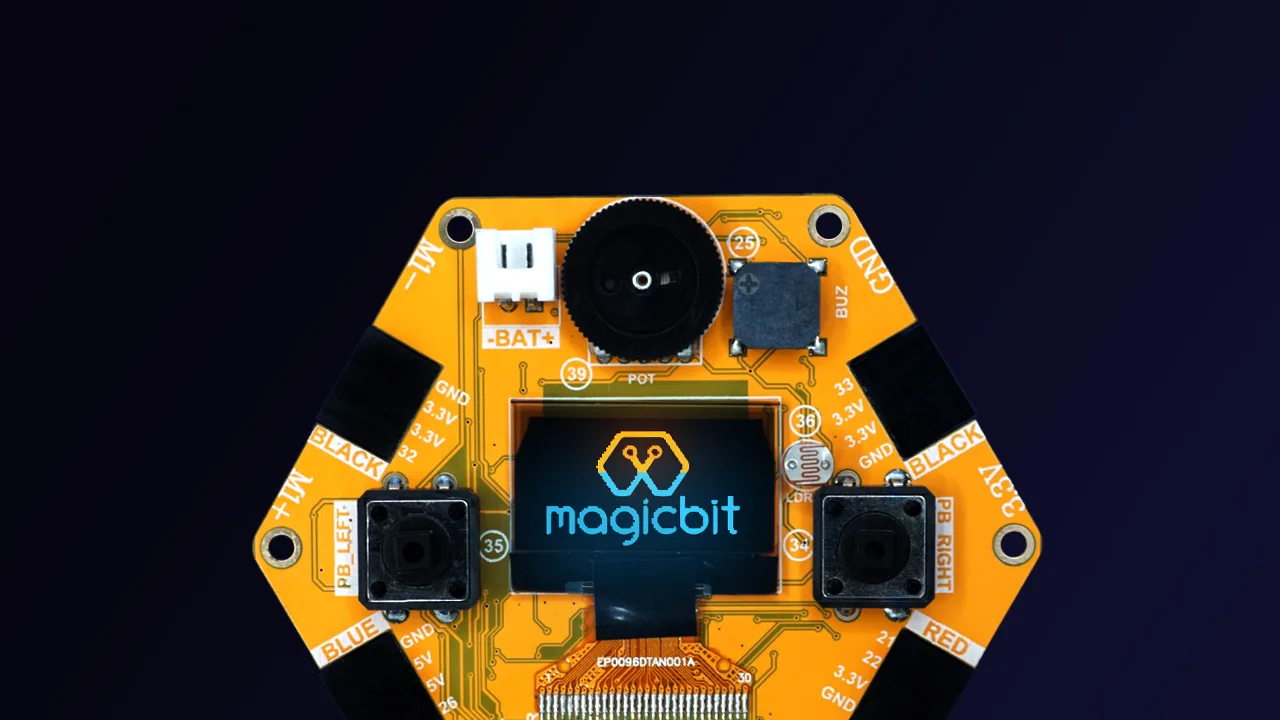
We configure a button as the 2nd example (D34 is used). Then we initialize serial communication between the computer and Magicbit. After that, in the loop section, if condition checks that if the button is pressed. If pressed, it prints “Button Pressed” on the serial console.
You could use the serial monitor window of Arduino IDE to view the serial output
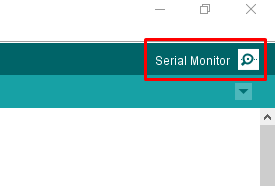
Then the serial console appears (you have to select the serial port number correctly, follow this link to learn how to).
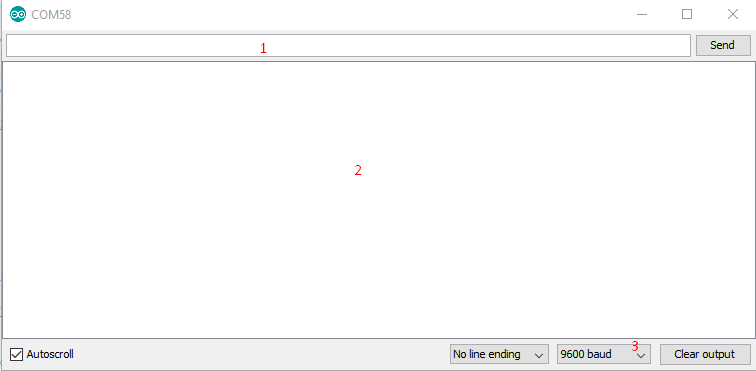
1: You can type in stuff here & hit enter to send data to Magicbit
2: This area shows the data coming from Magicbit
3: From this menu, you have to select a common baud rate between the computer and the magic bit.
Code
void setup(){
  pinMode(34,INPUT);
  Serial.begin(9600);
}
void loop(){
  if(digitalRead(34) == LOW){
    Serial.println("Button is Pressed");
  }
}
Explanation
Serial.begin(baudrate): Initializes a serial connection, baud rate specifies the speed of data transfer (bits per second). Standard values are 1200, 2400, 4800, 9600, 14400, 19200, 38400, 57600, 115200, 128000 and 25600
Serial.print(stuff to print): Using this function, serial data can be sent, stuff to print can be any type of Arduino variable or even a static string.
Serial.println(stuff to print): Using this function, serial data can be sent, stuff to print can be any type of Arduino variable or even a static string, this is different from Serial.print() is this always prints the content in a new line, rather than printing all in one line.
Activity
Note: do the same example using Serial.print(), observe the difference. Create a button press counter, which displays the button press count on the serial console of Arduino IDE.