Magicbit Servo
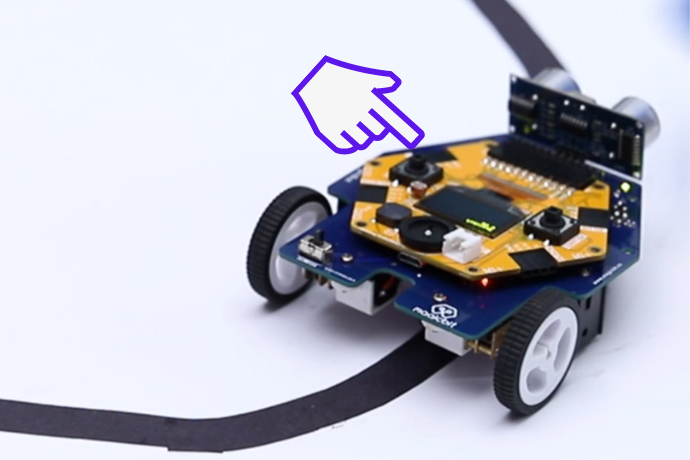
Control a Servo motor with Magicbit
Components Required

Introduction
A servomotor is an electrical device, which can push or rotate an object with great precision. If you want to rotate an object at some specific angles or distance, then you use a servo motor. It is just made up of a simple motor, which runs through servomechanism.
Learning outcome:
- Using servo motor with Magicbit
Theory
Servo motor works on the PWM (Pulse Width Modulation) principle, which means its angle of rotation, is controlled by the duration of the pulse applied to its control PIN. The servomotor is made up of a DC motor, which is controlled by a variable resistor (potentiometer), and some gears. Servomotors control position and speed very precisely. Now a potentiometer can sense the mechanical position of the shaft. Hence, it couples with the motor shaft through gears. The current position of the shaft is converted into an electrical signal by a potentiometer and is compared with the command input signal. In modern servomotors, electronic encoders or sensors sense the position of the shaft. A pulse of 1ms will move the shaft anticlockwise at -90 degrees, a pulse of 1.5ms will move the shaft to the neutral position that is 0 degrees and a pulse of 2ms will move the shaft clockwise at +90 degrees.
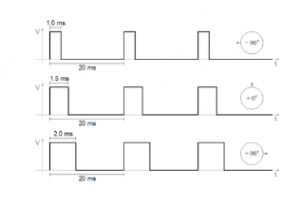
Figure 1:PWM Signals for various angles
Methodology
To implement this project, the ESP32Servo library should be installed. Click here to download the ESP32Servo library. Then install the library for Arduino IDE. Follow these steps to install the ESP32Servo library.
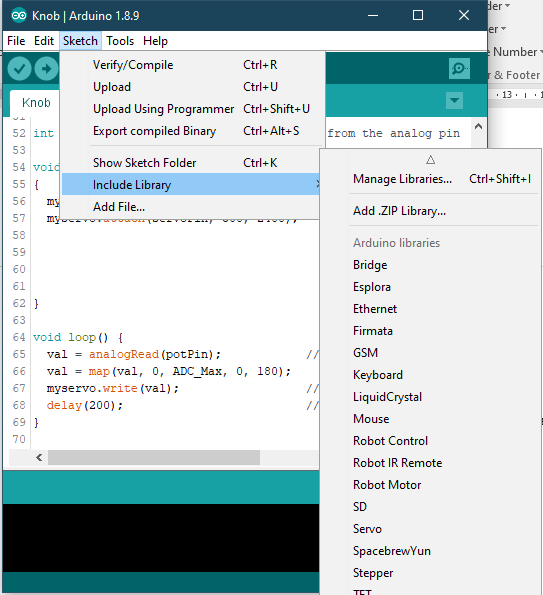
Figure 2: Include library -> Add.ZIP library
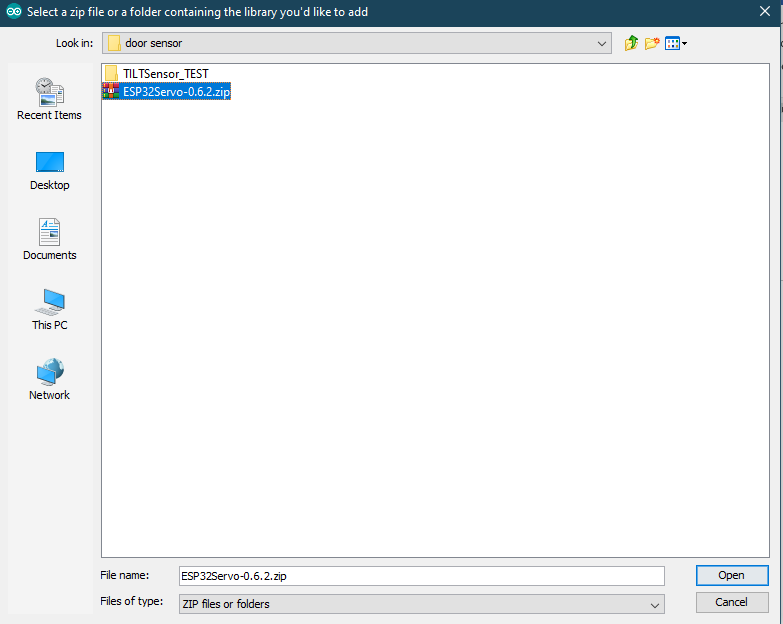
Figure 3: Select ZIP file
Then connect the magic servo motor to Magicbit. After completing those steps, upload the following code for your Magicbit.
Code
#include <ESP32Servo.h>
Servo MagicServo;

void setup() {
MagicServo.attach(32);
 }

void loop( ) {
 for(int i=0; i<=180; i++){
  MagicServo.write(i);
  delay(10);
  }
}
Explanation
Servo MagicServo: We should create an object in the program to define the servomotor MagicServo.attach: ‘attach’ means define which pin of the Magicbit connects to the servomotor. For loop: In here, we use for loop to incrementing loop action. Because of this, the servomotor increments its angle 0 to 180 and after complete, this action resets to the start position. This action is continued repeatedly inside the ‘for loop’.