
ESP32 Plant Monitoring with Arduino IOT Cloud Remote App
Components Required

Introduction
Monitoring plant health is very important for their fast growth. In this busy world, people usually forget to water their plants which leads to bad growth and health of their plants. For ensuring complete development of plants it is necessary to develop proper surrounding conditions in which plants grow. We are now going to make a small Plant Monitoring system whose data will be displayed on the arduino iot cloud remote app.In this project we are using ESP32 based development board Magicbit. The iot remote app will display the following data: Plant Monitoring with Arduino IOT Cloud(Arduino plant watering system)
- Moisture sensor will sense the amount of moisture present in the soil.
- The humidity of the surrounding is sensed by DHT11 sensor.
- The temperature of the surroundings is sensed by the DHT11 sensor.
What You Need
- Magicbit boards
- DHT11 Temperature & Humidity Sensor
- Soile Moisture Sensor
- Relay Module (Generic)
- 12V Pump
Method
Steps to follow
Step 01:
Prepare all the materials you are going to use, check the pins and make a map according to which you are going to connect the wires after. The choices depend on which functions you want to realize and where you want to place your sensors.
Step 02:
Program the Magicbit (ESP32) development board in Arduino iot cloud. When we create a new Thing, there are a few configurations that we need to do to get started.

- Link a device – the first thing we need to do is to link a device to our Thing. To do this, we can choose between configuring a new device, or selecting a device that we already configured.
- Select a network – here we simply enter the credentials to the network we want to connect to. Which means in this SSID and password of the wifi network.
- Create variables – choose a data type, update frequency, and give it a good name!.
All of the configurations we make here are automatically generated into a sketch file. This means we don’t have to enter any special tokens or passwords in the sketch at all, and we can start using the variables we create in the cloud straight in the code.
Creating a variable is super-easy, all we have to do is:
- Name it,
- Select a data type,
- Set value range,
- Choose permission, and..
- Click the ADD button!
And this is how it looks like in the variable list once they have been created:
Here we use 4 variables to exchange data between cloud and the Magicbit.

Step 03:
we have also included the Web Editor and Serial Monitor directly in the Arduino IoT Cloud.

If we want to edit the sketch after a configuration, simply click on the sketch tab to begin. Here you can also verify and upload your code. You can still edit your sketches in the Web Editor, and there’s a link here that will take you there!
Step 04:

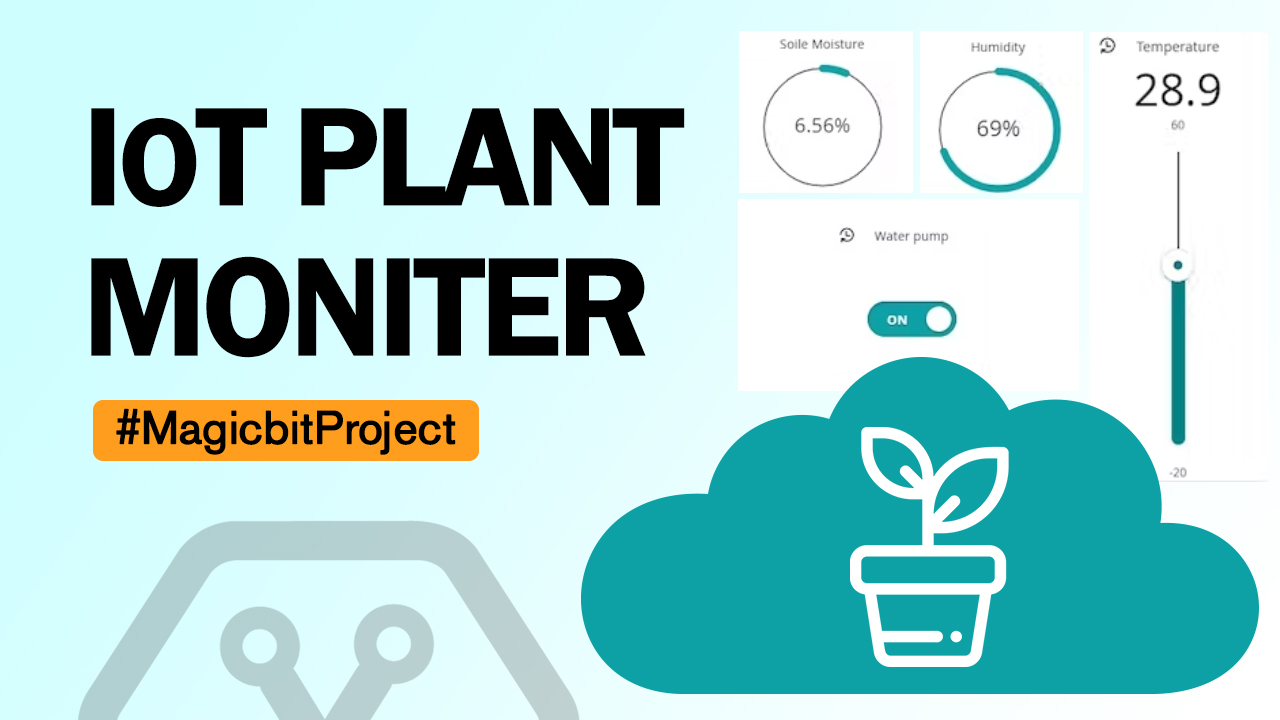
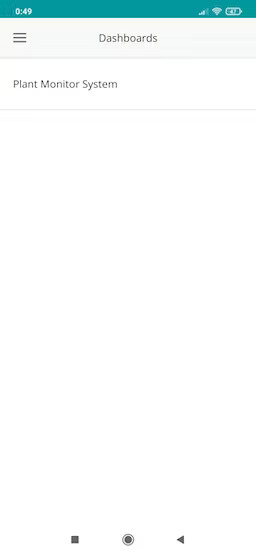
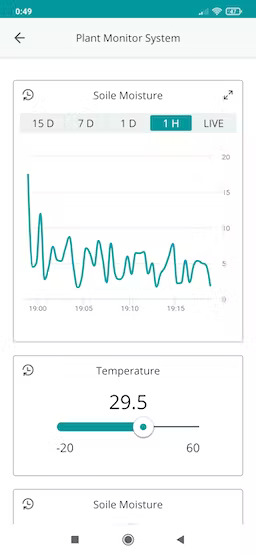
Take at a look at this dashboard. The widgets are directly linked to the variables mentioned earlier.
Step 05:
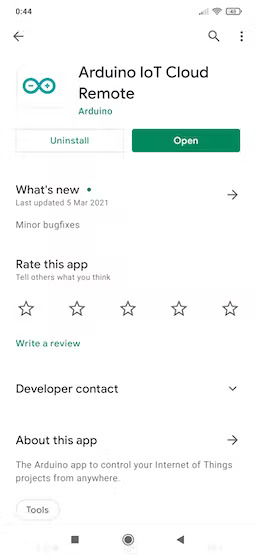
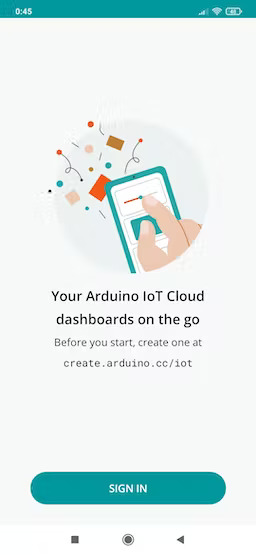
The Arduino IoT Cloud Remote app gives you with the ability to access, monitor or control your IoT projects regardless of the time or place, ” the team notes. “In the field: You can read the data from your dht11 and soil sensors or start your irrigation system directly from anywhere. In the factory: Constant visibility of the state of your manufacturing process status, with the ability to control your automation remotely.
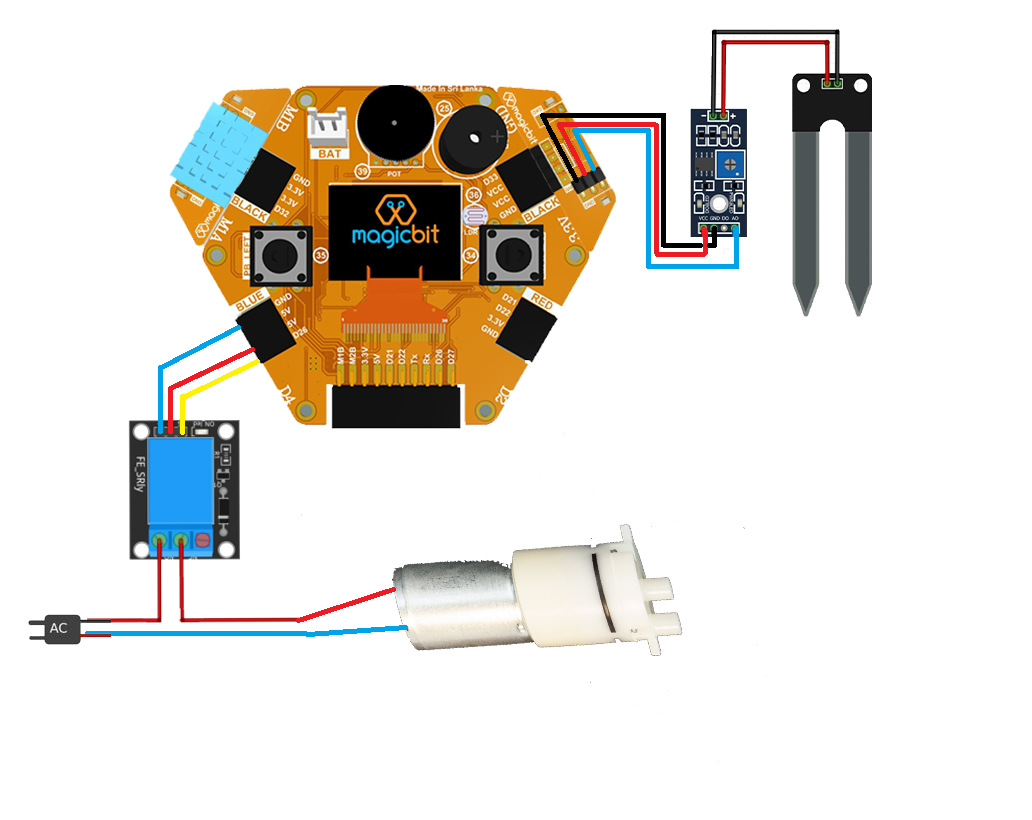
Schematics