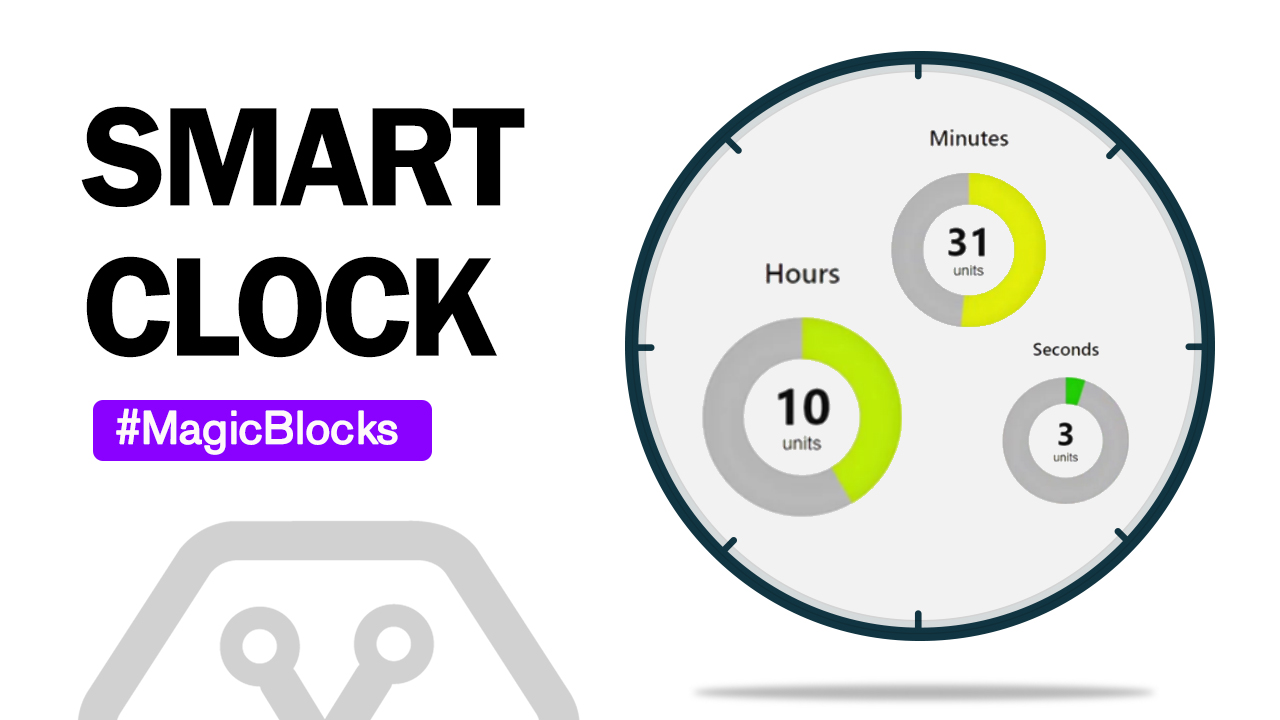
Smart Clock
Make a Smart Clock with Magicblocks
Introduction
A smart clock is a clock that can set reminders and allows you to control smart home devices, using just your voice and adjusting the time automatically. In this lesson, we will try to make such a clock.
Intended Learning Outcomes
- You will learn how to get the time using the function node.
- You will learn how to use gauges in the dashboard.
First, you need the below nodes.
![]()
Make the following arrangement

Then you have the configure the nodes.
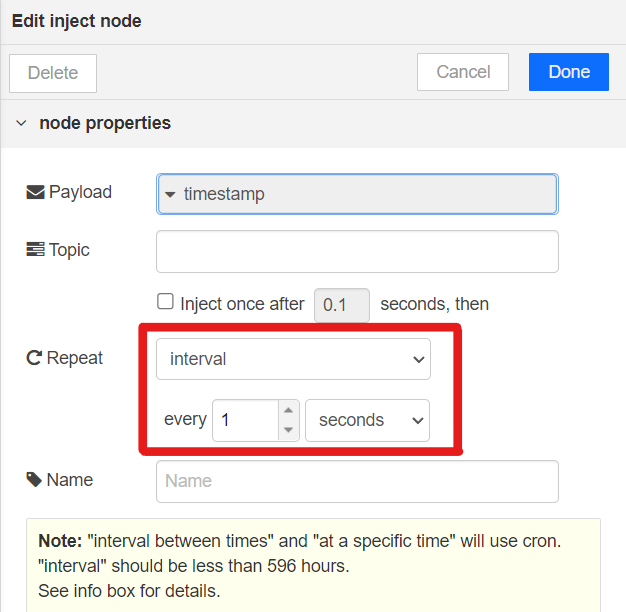
Inject Node
set the below settings(repeat every 1 second)
Function Nodes
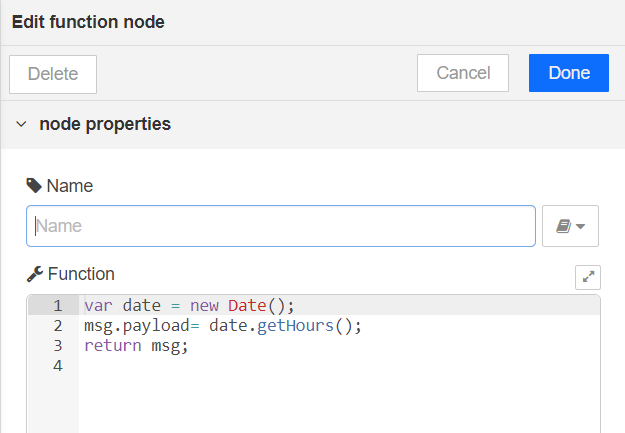
On the first function node, let’s set the hours. Copy or type the below code onto the function.
var date = new Date();
msg.payload= date.getHours();
return msg;
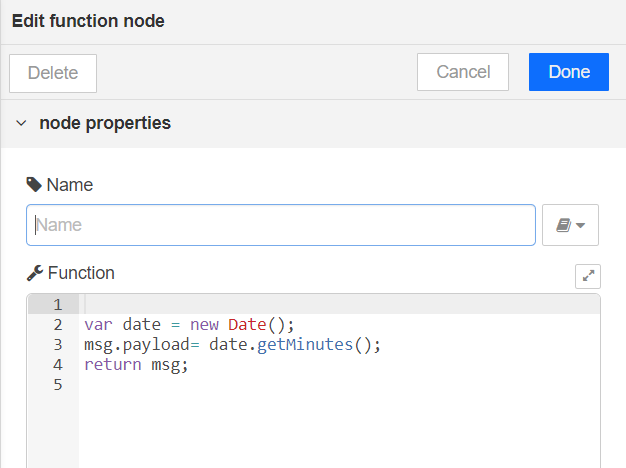
Then on the next function block, we can set minutes.
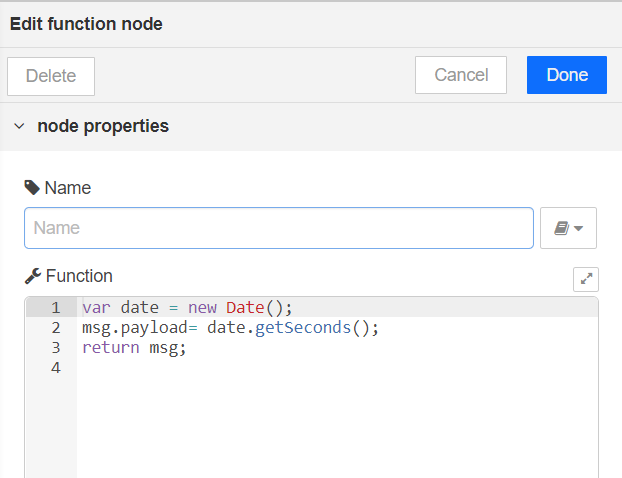
Then on the next function block, we can set seconds.
Gauges
You need to make three gauges.
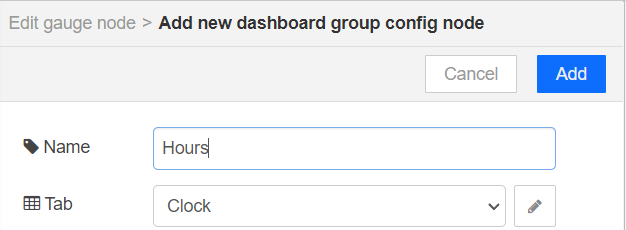
Let’s start with the Hours gauge. We will make a clock Tab in the dashboard and add 3 groups to it(hours, minutes, and seconds).
First open settings on the gauge you connected to the function node that gives out the hours. In the group add a new ui_group and click on the pencil icon.
![]()
Now lets make the tab. Add a new ui_tab

Name the new tab as Clock and add it.

name the group as hours and add it.
Make the below settings
- Set type to Donut
- Set label to Hours
- Set range from 0 to 24
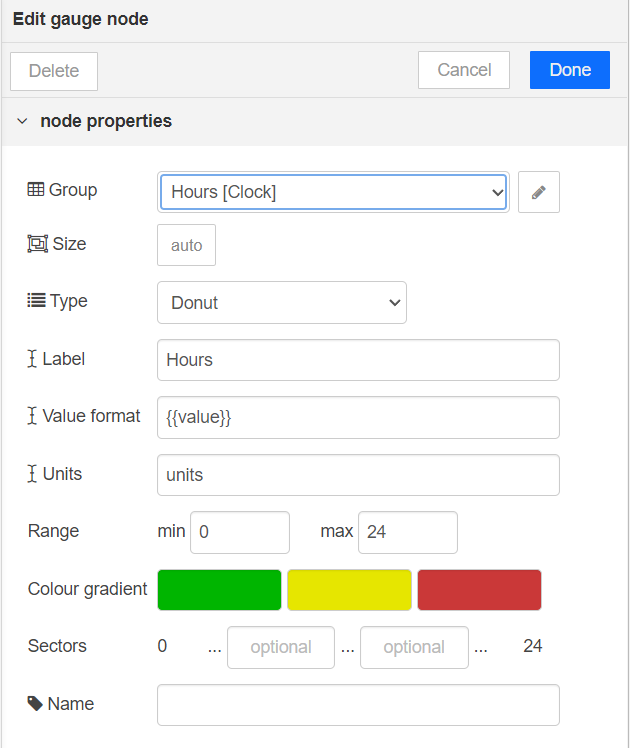
After that, let’s move on to the minutes gauge.
Open the settings and add a new group.
![]()
name the group as minutes and add it under the clock tab. Then click on Add button.
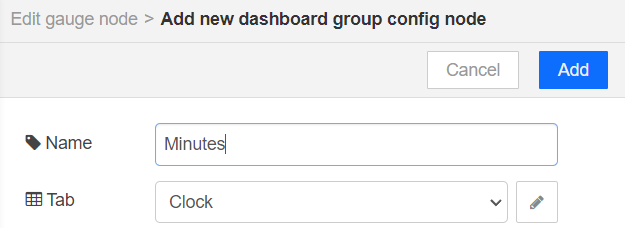
Now make the following settings.
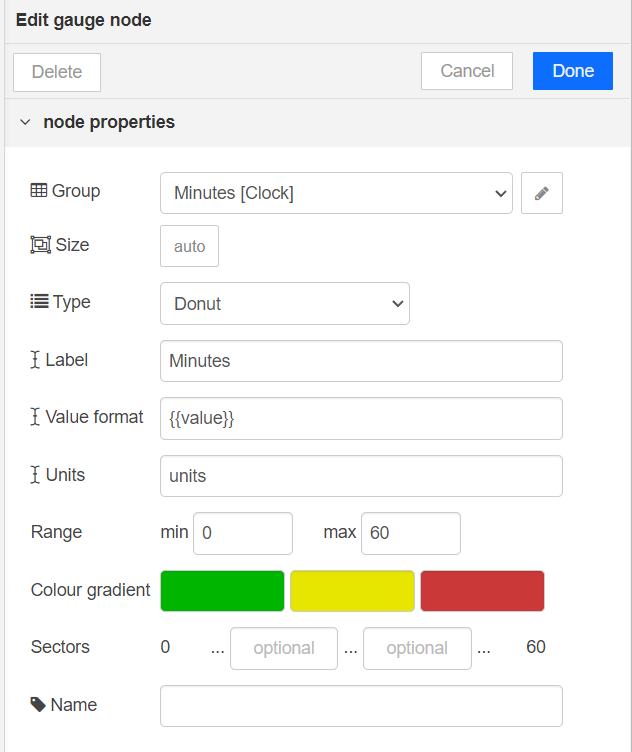
- Set type to Donut
- Set label to Minutes
- Set range from 0 to 60
Finally, make the below settings on the gauge for the Seconds.
- Set type to Donut
- Set label to Hours
- Set range from 0 to 24
- Add a new group as Seconds under the Clock tab
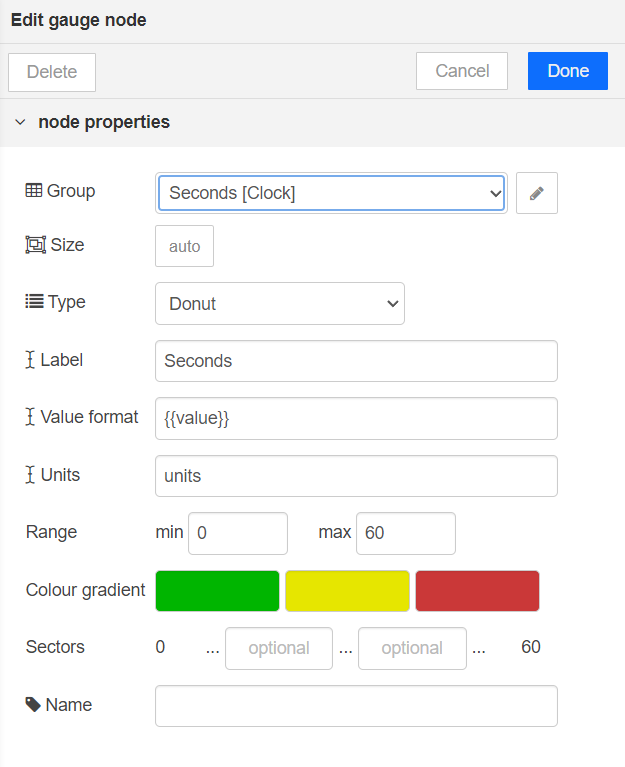
In the end, you should have the below tabs and links appearing on the dashboard side tab.
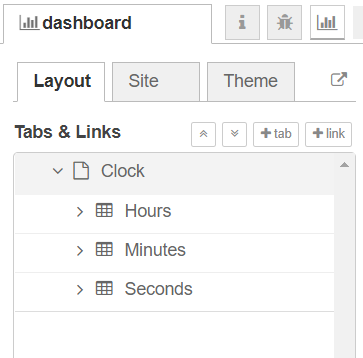
Now deploy the playground and run the dashboard
.

