What is MagicCode?
Introduction
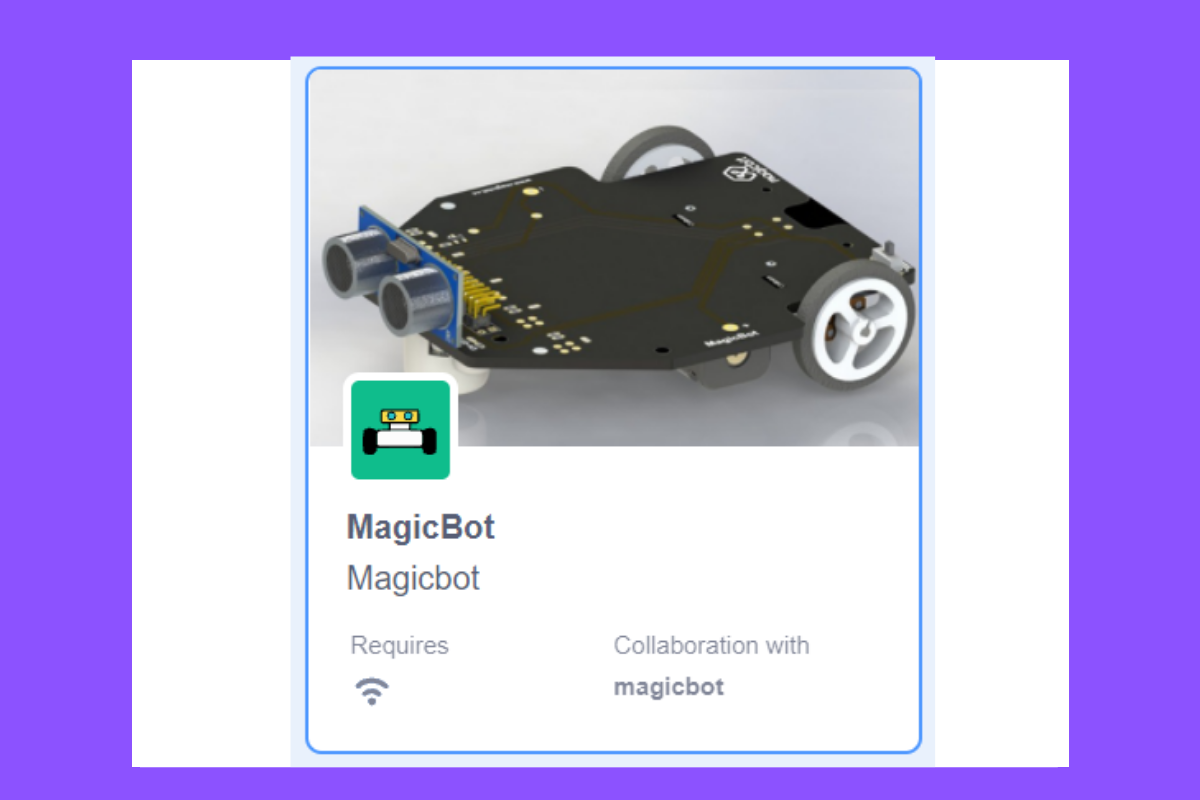
MagicCode is a Scratch 3.0 based graphical programming software that makes you learn to code superfast. If you are new to the world of programming, MagicCode is one of the best companions that makes coding fun and easy. The user-friendly interface and drag and drop functionality make coding more interesting because of no need to worry about traditional programming rules. You can create your interactive games, animations, or program robots and projects with MagicCode. You can directly connect your Magicbit, Arduino, or Microbit boards with MagicCode and control generic sensors and actuators, or It also has an upload mode where you can upload your code inside boards.
Getting Started
MagicCode interface and tools
- Blocks
A block is like a jigsaw puzzle piece that is used to write programs by simply dragging and dropping them below one another in the scripting area. Blocks are often easier to work with than text-based programming, as one has to memorize the commands typed and syntax errors may occur. There are ten categories of blocks: Motion, Looks, Sound, Event, Control, Sensing, Operators, Variables, List, and My Blocks. The list blocks are shown under the Variables Blocks.
- Block palette
The block palette is under the Code tab. It consists of different palettes such as Motion, Sound, and Control. Each palette has different blocks that perform functions specified by the palette name. There are other varieties of block palettes that can be loaded from the Add Extension button located at the left bottom.
- Script
A script is a program or code in MagicCode which is a collection or stack of blocks that all interlock with one another. The blocks and their order are very important, as they determine how sprites interact with each other and the backdrop. Sometimes, comments are attached to scripts to explain what certain blocks do and what the script’s purpose is. You can write multiple scripts, all of which can then run simultaneously.
- Add Extensions
Add Extensions are used to add new palettes to the block palette.
- Sprite
Sprites, either user-created, uploaded, or found in the MagicCode Sprites library, are the objects that perform actions in a project. Most projects have at least one sprite as well because only sprites can move.
Users can give instructions to a sprite (such as telling the sprite to move) by snapping blocks together in the script area. Clicking on the block(s) in the script area will cause the sprite to react based on the function of the block(s) clicked. Clicking on a sprite’s thumbnail in the sprite pane will bring up the script area of that sprite.
The look of a sprite can also be changed by using costumes. The current costume of a sprite can be changed by clicking on the “costumes” tab and clicking on the desired costume of choice, or by using look blocks to select the sprite’s costume. New costumes for the sprite can be imported, created, and edited in the MagicCode Paint Editor.
Some sprites additionally have at least one sound. Unlike costumes, sounds are an optional field, so you can have a sprite with no sounds. The sounds tab allows you to add, delete, and edit sounds. Sounds can be played in the sound editor or with blocks that play a specific sound. Sprites (with all of their scripts, costumes, and sounds) can be exported, and then imported into another project if desired. This is achieved by right-clicking on a sprite’s thumbnail in the sprite pane and then selecting “save to local file” in the pop-up menu. A sprite can also be dragged into the backpack and dragged out into another project for transporting. However, this will not save the sprite to one’s computer.
- Stage
The stage is the background of the project where your sprites perform their actions, but it can have scripts, backdrops (costumes), and sounds, similar to a sprite, and it has its own scripts and sounds. But the stage has some restrictions on sprite functions, such as motion and size blocks.
The stage is 480 pixels wide and 360 pixels tall. All sprites have a particular position on the stage. However, no sprites can move behind the stage, and it is always at the back layer.
Connecting Magicbit with Computer
USB Mode
- Connect the Magicbit to your computer using the provided USB cable.
- Then your Magicbit display will load the Magicbit OS allowing you to select the necessary mode.
Note : If your Magicbit doesn’t have the OS, upload it using the Magicbit Uploader.
- Rotate the potentiometer knob in the Magicbit to select the MagicCode mode and load it using the RIGHT Push button.
- Now it will open the MagicCode mode and Magicbit screen will appear as follows.
- Now open the MagicCode Platform by clicking on the MagicCode option in the top menu bar of this platform or else click here .
- Click on the “connect” button or “USB” button.
- In the pop-up, select the correct USB port that your Magicbit is connected and click on the connect button in the pop-up.
- After few seconds, you’ll get the ‘’Successfully Connected” message as follows.
- And also the “Connect” button will turn into Disconnect with the green color icon. At the same time, the message on the Magicbit screen also get erased with a “Beep” sound and screen become clear .
Now you are ready to program !
Bluetooth Mode
- Power the Magicbit using the batteries.
- Then your Magicbit display will load the Magicbit OS allowing you to select the necessary mode.
Note : If your Magicbit doesn’t have the OS, upload it using the Magicbit Uploader.
- Rotate the potentiometer knob in the Magicbit to select the MagicCode mode and load it using the RIGHT Push button.
- Now it will open the MagicCode mode and Magicbit screen will appear as follows.
- Now open the MagicCode Platform by clicking on the MagicCode option in the top menu bar of this platform or else click here .
- Click on the “Bluetooth” button.
- In the pop-up, select the correct Bluetooth device name which is also displayed in the Magicbit screen. Then click the ” Pair ” button.
- After few seconds, you’ll get the ‘’Successfully Connected” message as follows.
- And also the “Connect” button will turn into Disconnect with the green color icon. At the same time, the message on the Magicbit screen also get erased with a “Beep” sound and screen become clear .