Learn to build IoT devices using ESP RainMaker. Compare platforms, connect devices, push sensor data, automate with scheduling, integrate with Google Home and Alexa.
Learn how to build your own IoT devices using ESP RainMaker in this comprehensive course. Discover the benefits of ESP RainMaker compared to other IoT platforms and get hands-on experience connecting devices to the platform. Explore advanced features such as pushing sensor readings to the RainMaker cloud, scheduling automation, and integrating with Google Home and Alexa. Put your knowledge into practice with guided projects, including building a smart light, a high-temperature warning indicator, and a Smart AC remote.
Introduction
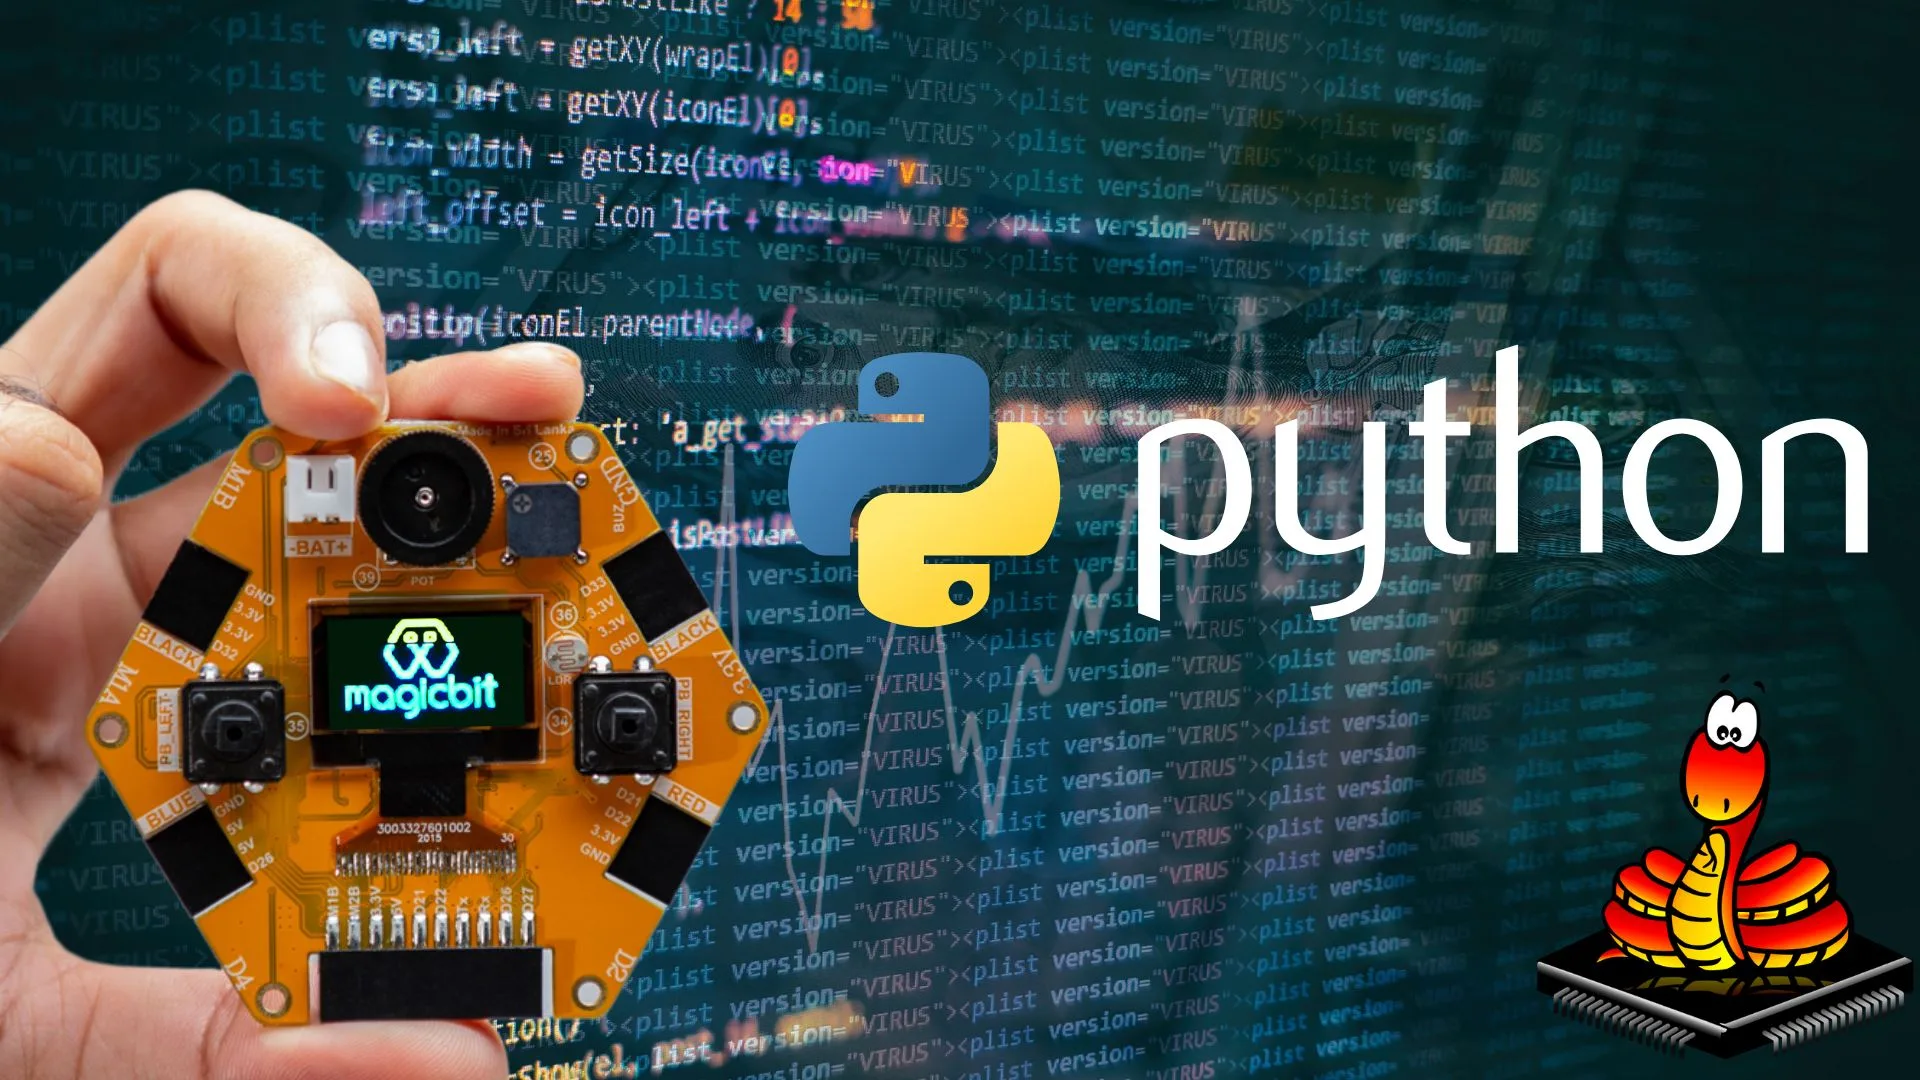
The Internet of Things (IoT) has revolutionized the way we interact with our surroundings, providing unprecedented connectivity and automation. With the increasing popularity of smart homes and the demand for personalized IoT solutions, there has never been a better time to learn how to build your own IoT devices. In this course, we will explore the powerful ESP RainMaker platform, designed specifically for ESP32 devices, and guide you through the process of creating customized IoT devices. In this course we have used Magicbit as the ESP32 device.
Section 1
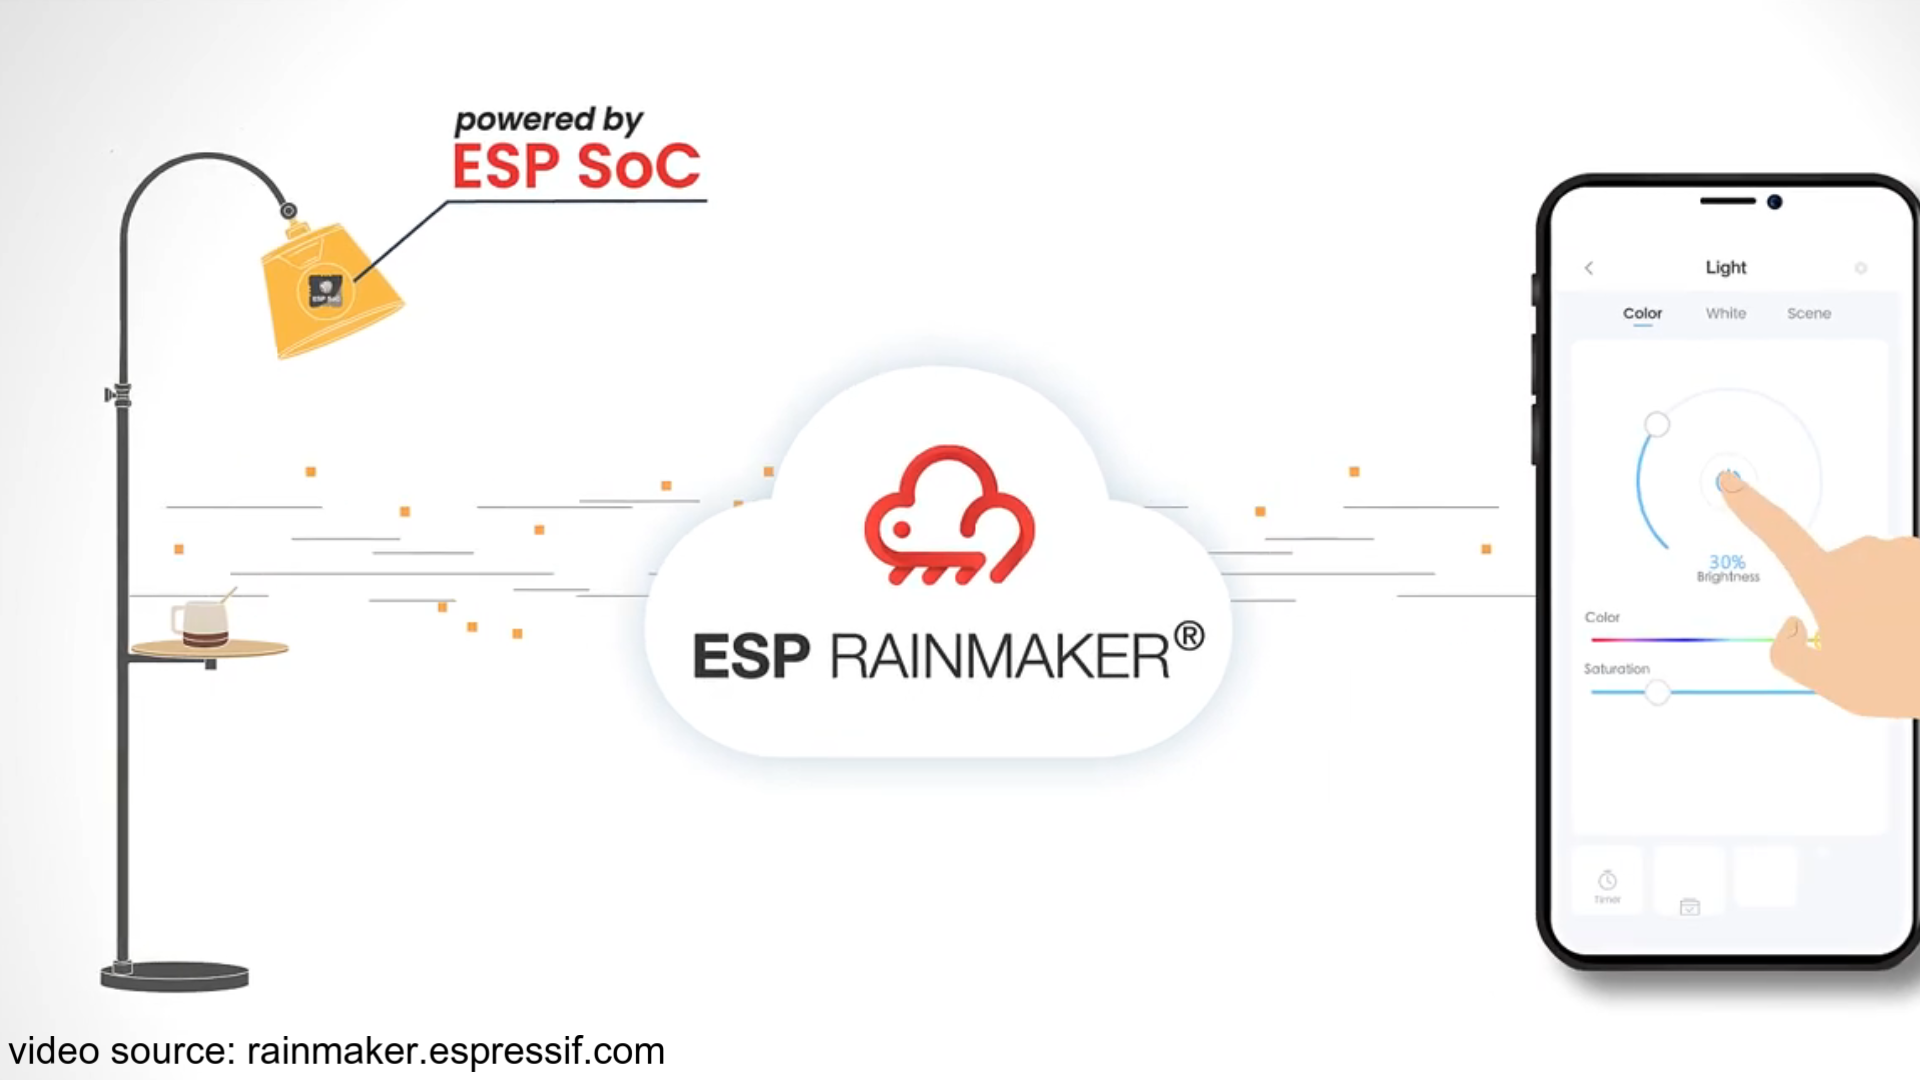
Introduction to ESP RainMaker and IoT Platforms In the first section of the course, we will lay the foundation by introducing you to IoT platforms and their significance. We’ll delve into the capabilities and advantages of ESP RainMaker, comparing it with other popular IoT platforms. Understanding the benefits and limitations will help you make an informed decision when choosing the right platform for your projects. You’ll also get hands-on experience by learning how to connect devices to the ESP RainMaker App and explore the essential components of a RainMaker code.
Section 2
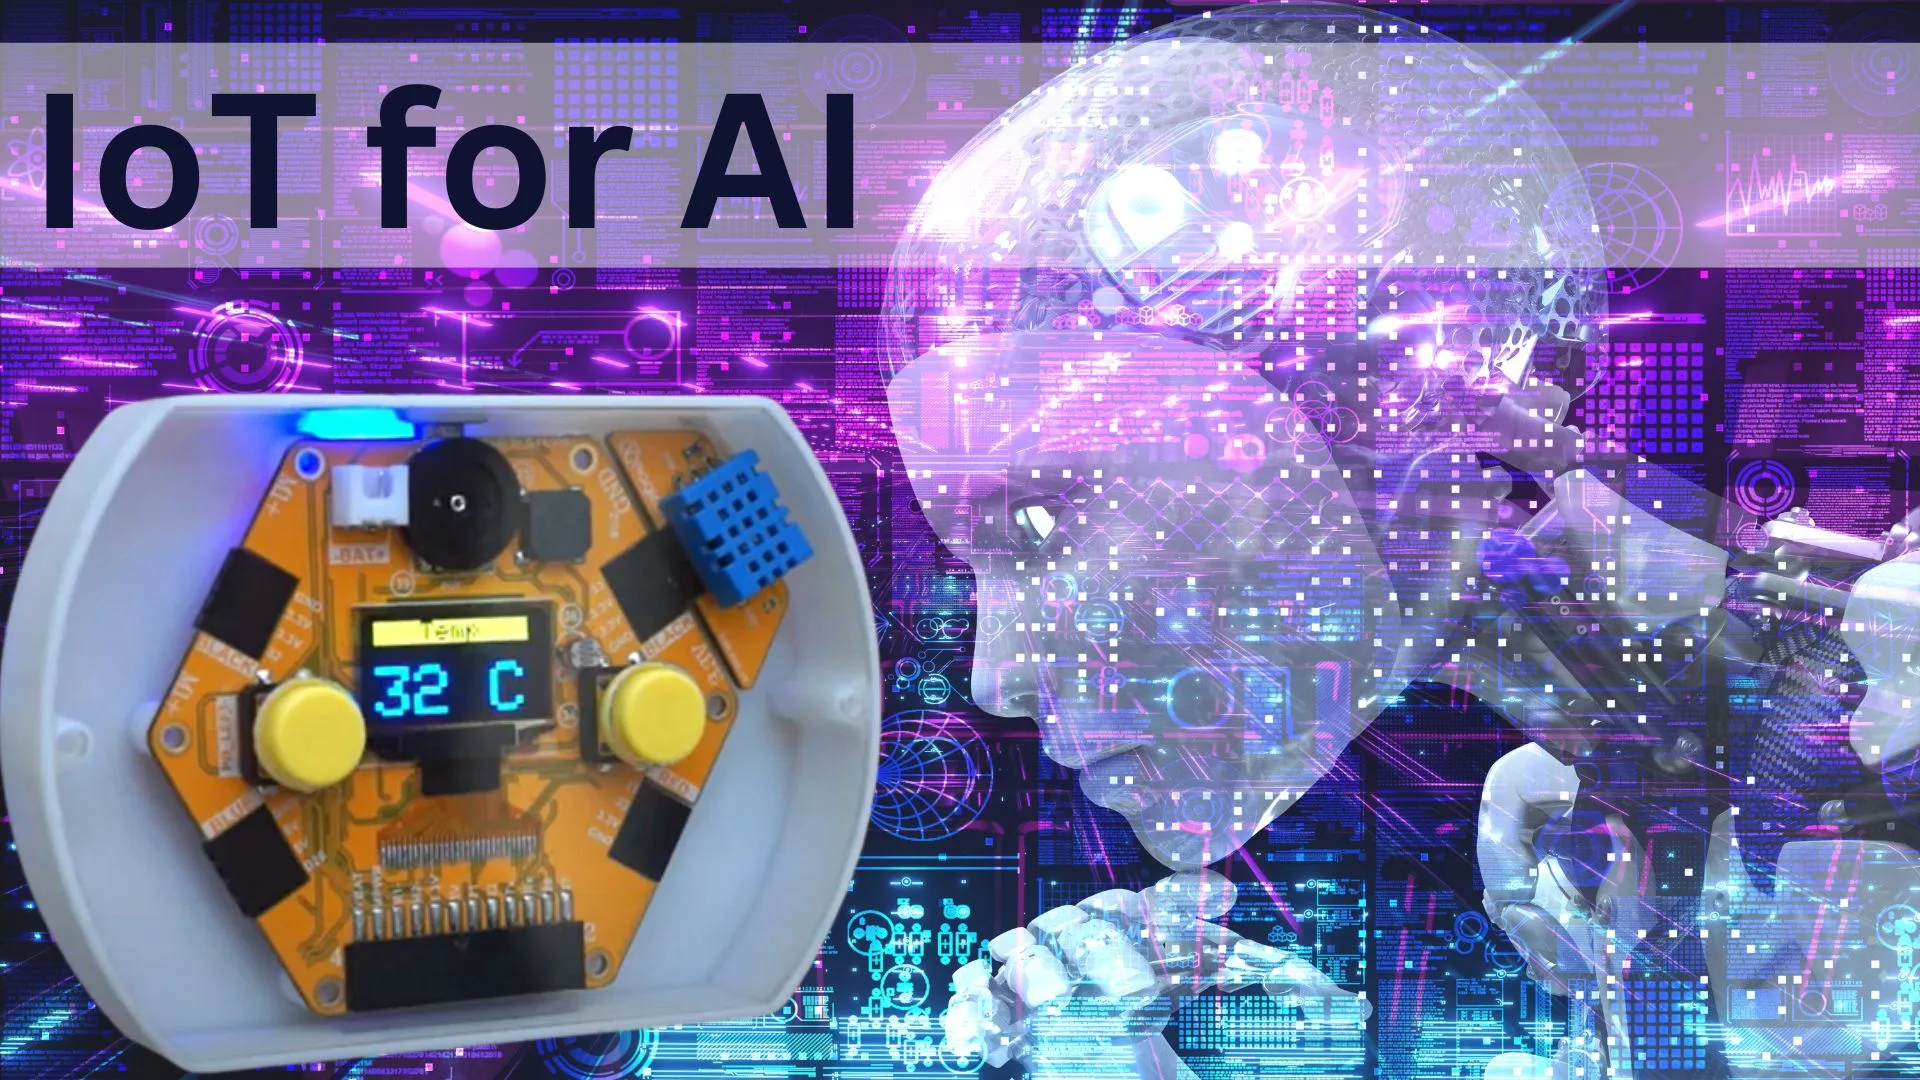
Advanced Features and Integration Building upon the fundamentals, the next section will take you deeper into the functionality of ESP RainMaker. We will explore how to push sensor readings to the RainMaker cloud, enabling you to monitor and analyze data from your devices remotely. Additionally, you’ll learn how to schedule and automate your devices using the app, providing enhanced control and convenience. To further expand the capabilities of your IoT devices, we’ll guide you through the integration of ESP RainMaker with popular ecosystems like Google Home and Alexa.
Section 3:
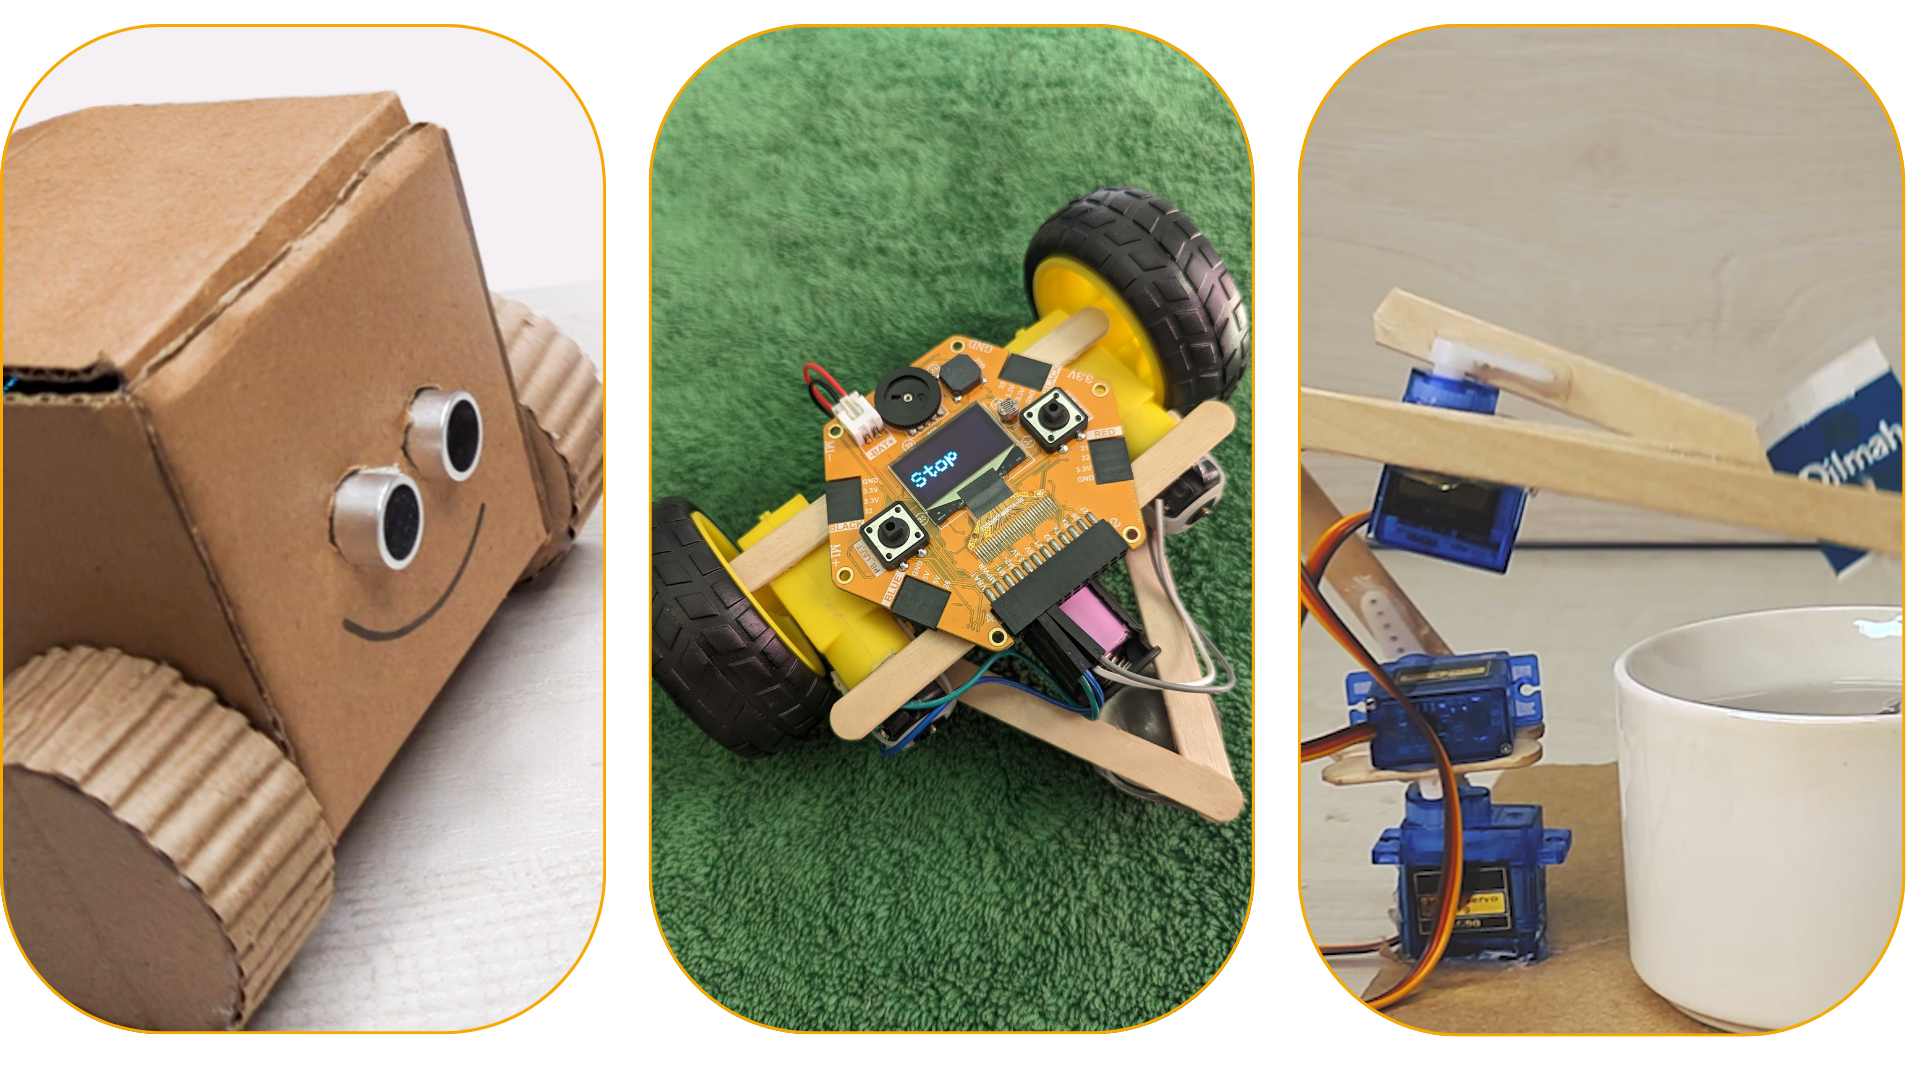
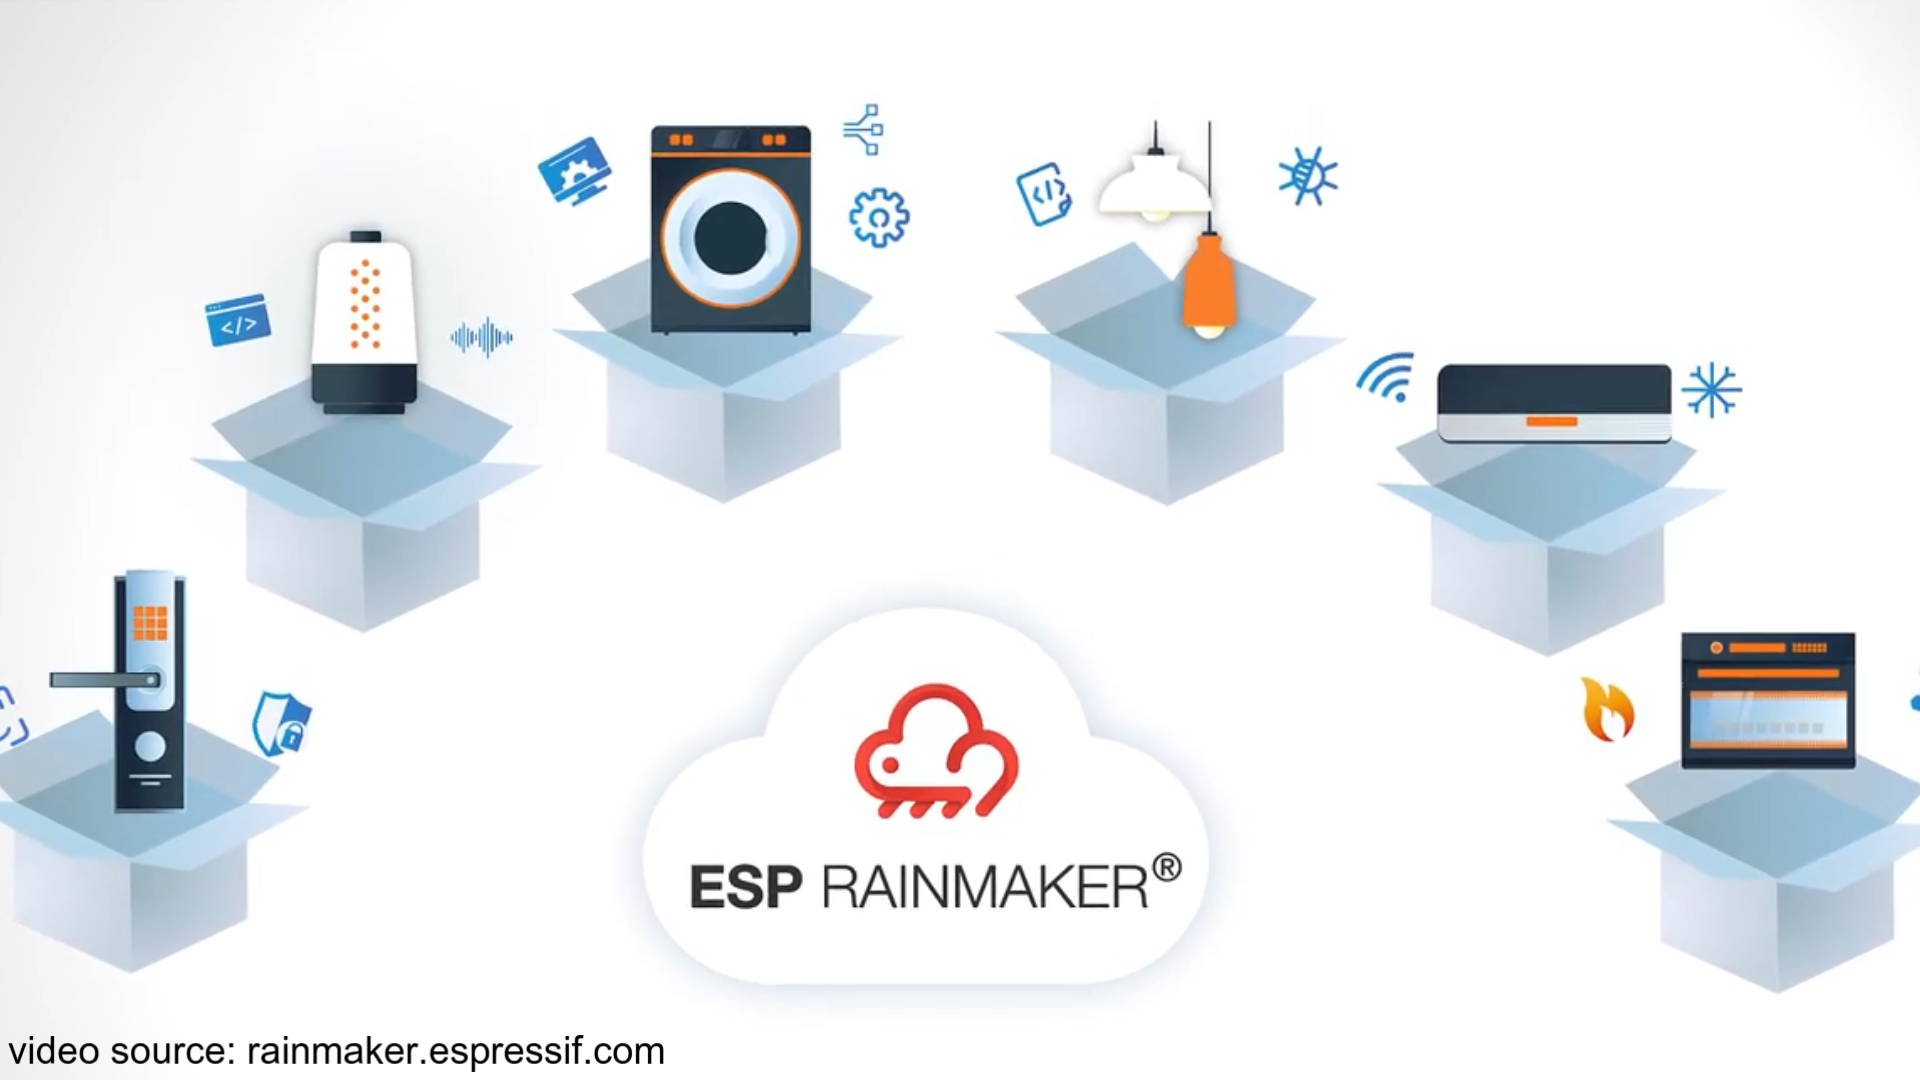
Guided Projects for Practical Application The second part of the course will be dedicated to practical application, where you will put your newfound knowledge to work by building three guided projects. We will start with a smart light project, utilizing a relay to control the lighting remotely. Next, we’ll tackle a high-temperature warning indicator, which can help prevent potential hazards. Finally, we’ll venture into transforming a regular air conditioner into a smart one with our Smart AC remote project. These projects showcase the versatility and real-world applicability of ESP RainMaker, providing you with a solid foundation for future projects.

Conclusion:
By the end of this course, you will have acquired the skills and knowledge required to create your own customized IoT devices using ESP RainMaker and the powerful ESP32 platform. You will be equipped with the ability to build smart devices tailored to your specific needs, whether for your home or business. The course offers a comprehensive understanding of ESP RainMaker’s features, from connecting devices to scheduling automation and integrating with popular voice assistants. The possibilities are endless, and with ESP RainMaker, you are well on your way to transforming your IoT ideas into reality.
So, are you ready to embark on this exciting journey of building your own IoT devices? Let’s get started and unlock the potential of ESP RainMaker!