

Send data from the Magicblocks app to ESP32
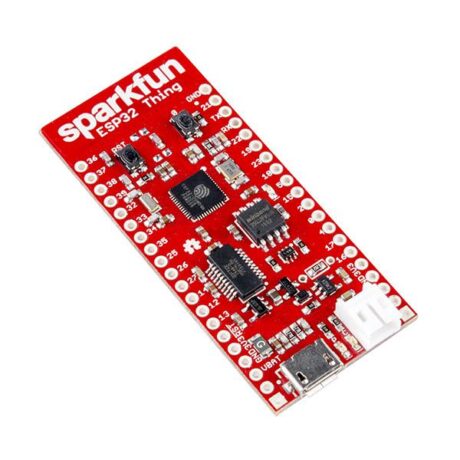
Components Required
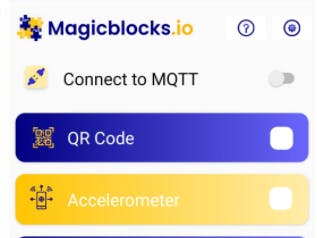
Setting up the app
We wont be getting into details on how to setup the Magicblocks app. We have discussed this in a previous tutorial. The link is given below. The things you should be mindful is the publish and subscribe topic which you enter. They should be replicated in the ESP32 code as well. Both the app and the ESP 32 device should use the same MQTT broker as well.
Configuring the ESP32
This the code we will be using,
#include <WiFi.h>
#include <PubSubClient.h>

// Replace the next variables with your SSID/Password combination
const char* ssid = "REPLACE_WITH_YOUR_SSID";
const char* password = "REPLACE_WITH_YOUR_PASSWORD";

// Add your MQTT Broker IP address, example:
//const char* mqtt_server = "192.168.1.144";
const char* mqtt_server = "YOUR_MQTT_BROKER_IP_ADDRESS";

WiFiClient espClient;
PubSubClient client(espClient);
long lastMsg = 0;
char msg[50];
int value = 0;

void setup() {
  Serial.begin(115200);

  setup_wifi();
  client.setServer(mqtt_server, 1883);
  client.setCallback(callback);


}

void setup_wifi() {
  delay(10);
  // We start by connecting to a WiFi network
  Serial.println();
  Serial.print("Connecting to ");
  Serial.println(ssid);

  WiFi.begin(ssid, password);

  while (WiFi.status() != WL_CONNECTED) {
    delay(500);
    Serial.print(".");
  }

  Serial.println("");
  Serial.println("WiFi connected");
  Serial.println("IP address: ");
  Serial.println(WiFi.localIP());
}

void callback(char* topic, byte* message, unsigned int length) {
  Serial.print("Message arrived on topic: ");
  Serial.print(topic);
  Serial.print(". Message: ");
  String messageTemp;

  for (int i = 0; i < length; i++) {
    Serial.print((char)message[i]);
    messageTemp += (char)message[i];
  }
  Serial.println();

  if (String(topic) == "databox") {
    Serial.println("Temperature is " + messageTemp);

  }
}

void reconnect() {
  // Loop until we're reconnected
  while (!client.connected()) {
    Serial.print("Attempting MQTT connection...");
    // Attempt to connect
    if (client.connect("ESP8266Client")) {
      Serial.println("connected");
      // Subscribe
      client.subscribe("databox");
    } else {
      Serial.print("failed, rc=");
      Serial.print(client.state());
      Serial.println(" try again in 5 seconds");
      // Wait 5 seconds before retrying
      delay(5000);
    }
  }
}
void loop() {
  if (!client.connected()) {
    reconnect();
  }
  client.loop();

  long now = millis();
  if (now - lastMsg > 5000) {
    lastMsg = now;

    // Temperature in Celsius
    randNum = random(1,10);

    char tempString[8];
    dtostrf(randNum , 1, 2, tempString);
    Serial.print("random Num : ");
    Serial.println(tempString);
    client.publish("databox2", tempString);

  }
}
What is done in the above code is that the ESP32 is listening for any messages on the topic ‘Databox’. Also it is publishing a random number between 1 and 10 to the topic ‘Databox2’.
Before proceeding further keep in mind to fill the ssid password and mqtt broker with the real values.
If everything goes well the code should compile error free and get uploaded. After uploading, open the serial monitor to see whether your ESP32 connected to the WiFi and the MQTT Broker.
Then you have to open the app and send data. (If you have trouble with operating the app see the tutorial in the link given at the beginning). For this tutorial we will send data from the temperature sensor in the app. You will see the received data on the serial monitor.
For the data sent from the ESP32, they should appear as pop up notifications on your phone.

R.I buwaneka
can not connect app , its getting disconnected